Turtles are great as pets if you can give them the correct habitat. Aquatic and semi-aquatic turtles require different types of habitats. Aquatic breeds give you the leverage to design an aquarium the way you want. In most cases, it is easier to set up a turtle tank and maintain it than a fish tank.
Making a homemade turtle tank is fun and way cheaper than buying one straight from the market. The problem with market-bought turtle tanks is, in most cases, they are way smaller in size for the turtle. In a homemade approach, you can control every piece of the turtle tank and design it the way you want.
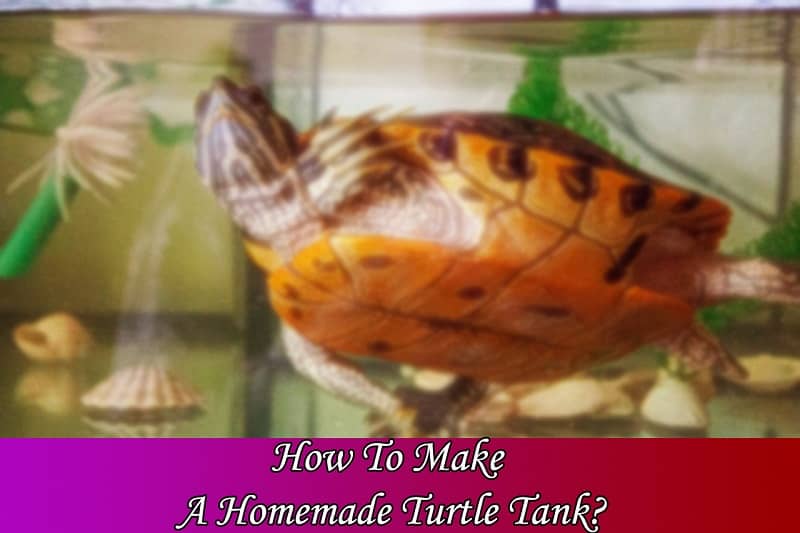
We will be guiding you through how to make a homemade turtle tank in this article.
Things You’ll Need
The perfect size of your turtle tank will depend on the age and variety of turtle you prefer and how many you plan to keep collectively. To set up your turtle tank, you will need the equipment given below:
Aquarium Filter And Thermometer
Turtles require freshwater to reside healthily. They need their water warm, although the exact temperature will depend on the species you will have.
Heat Lamps and Lighting
If you are not keeping your turtle in an outdoor pond where they get enough sunlight, you will need to add a heating light and UVB light to your set-up.
Basking dock
Semi-aquatic types of turtles need basking dock or raised areas where they can relax on top of the waterline. For fully aquatic turtles, a flooded pile of rocks under the heat lamp more often than not works as a resting platform.
Tank Substrate
It is not necessary to use substrate on the floor of your turtle tank. Most experienced turtle keepers set off with bare-bottomed tanks to get better filter performance and make safeguarding easy. An attractive option is large canal rocks or even smooth glass break-offs if you prefer that outer shell in your tank.
How To Make A Homemade Turtle Tank?
When you have picked up your equipment and gears, you are ready to go. Now start placing your turtle tank together! It can be as easy as it is or as broad a process as you would like. You can start with simple baby turtle stuff. Later plan a turtle tank modified with the features you desire.
Fill the Tank with Substrate
Clean your tank and substrate, and remove if there are any labels from your tank. Fill the base of your tank with your selected substrate if you are not opting for a bare tank floor.
Create Basking Area and Fill with Water
Construct the basking area by setting up your floating stage, tank topper, or a mass of rocks in your turtle tank. Position the ramps so your turtle can easily get to the dock. Check twice that your heat lamp or lights fit above the basking area and, the placement you have built works.
Fill up the tank with water. Apply a good quality water conditioner to get rid of chlorine and other substances from your water.
Set-Up Tools
Insert heater, filtration organism, and any other decorations except for living plants. Set the heat. Set up the filter and set it aside to cycle for a few days before putting in any animal inside the set-up.
Turn on Heating and Lights, and Decorations
After the cycling process, turn the lights on and check if everything is functioning properly. Supervise the water, basking dock heat, and make final modifications. Opt for buying a starter turtle kit if you do not have the time for a DIY tank.
If you want, you can use colorful aquatic substrate to design the tank. DIY set-ups like these are not hard to build and can be very eye-catching.
Now everything is ready and, you are allowed to add your turtle to your new tank!
Things To Remember While Building A Turtle Tank At Home
- Choose an aquarium size big enough tank to give the turtle sufficiency of room. Keep in mind, while an infant turtle requires around 40 liter aquarium size, a fully grown-up will need at least double that volume. The size requirement also varies with the species of the turtle and its shell dimension.
- Provide sufficient water for your turtle. Aquatic turtle requires extra water than semi-aquatic turtles. The water depth should be sufficient for the turtle to swim freely throughout the tank. In case of baby turtles, don’t put too much water as they can drown themselves.
- Provide enough land area. Different kinds of turtles require different sizes of basking areas. Aquatic turtle needs less basking area land than semi-aquatic. The basking area should be trouble-free to rise onto and stay dry. There should be sufficient room for relaxing. Use blocks, foam, wood, and rocks for the dry space.
- Provide adequate lighting. UVB lighting is a must for turtles. Use a timer to imitate a day/night cycle. There should be about 8-10 hours of lighting followed by a darkness period. It’s best to place the tank out of direct daylight.
- Make use of an appropriate filtering system. The filter should be powerful enough to hand the turtle waste. If there is no filter, you’ll need to change the water manually every week or more often.
- Keep the water at a required temperature with a heating arrangement.
- Don’t skip on the UVB lighting. These lights are crucial for turtles because UVB light helps the turtle to absorb vitamin D3. Vitamin D3 is crucial for the turtle’s shell and bone growth. For a proper turtle tank, you need both a heat lamp for heat and UVB light for shell growth.
Final Words
There are many options available when it comes to choosing the correct tank for your pet turtle. The ideal choice will always depend on the type of turtle you have. But knowing how to make a homemade turtle tank is always more exciting and cheaper. You can always build a tank yourself, but seeking help from a professional before doing so is always recommended.
If you get confused in any of the stages of building the turtle tank, seek help from YouTube or any other online source. You can also ask us in the comment box below.